


Sponsor
|
- Factory Original-Equipment (OEM) Boat Canvas and Covers :
- Canvas & Cover Fabric:
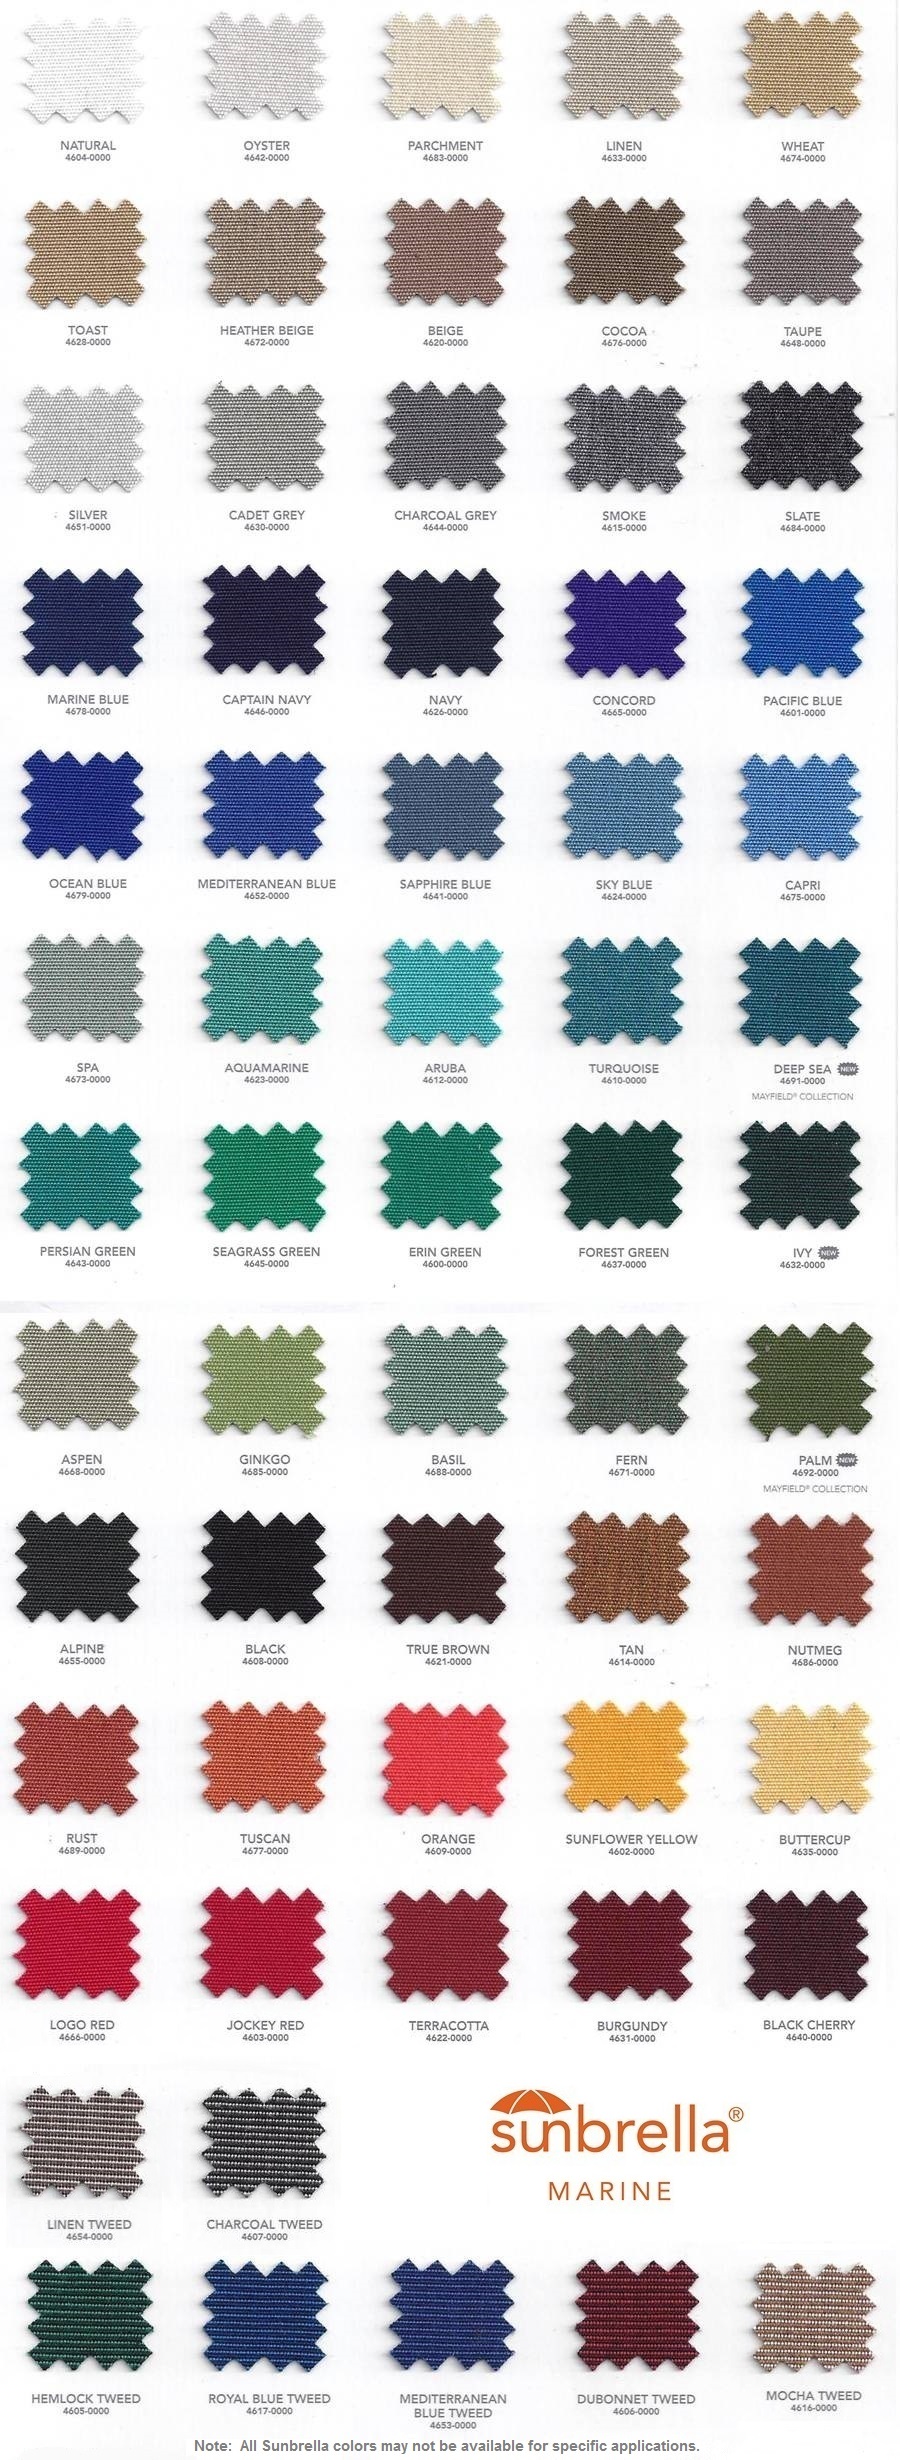
Sunbrella® Marine Fabric
& Colors ...
Weblon® Regatta Fabric & Colors ...
Stamoid® Fabric & Colors ...
Top Gun® Fabric & Colors ...
Canvas/Covers Maintenance & Cleaning ...
Clear-Vinyl & Strataglass® Coated Vinyl Maintenance & Cleaning
- Canvas Types:
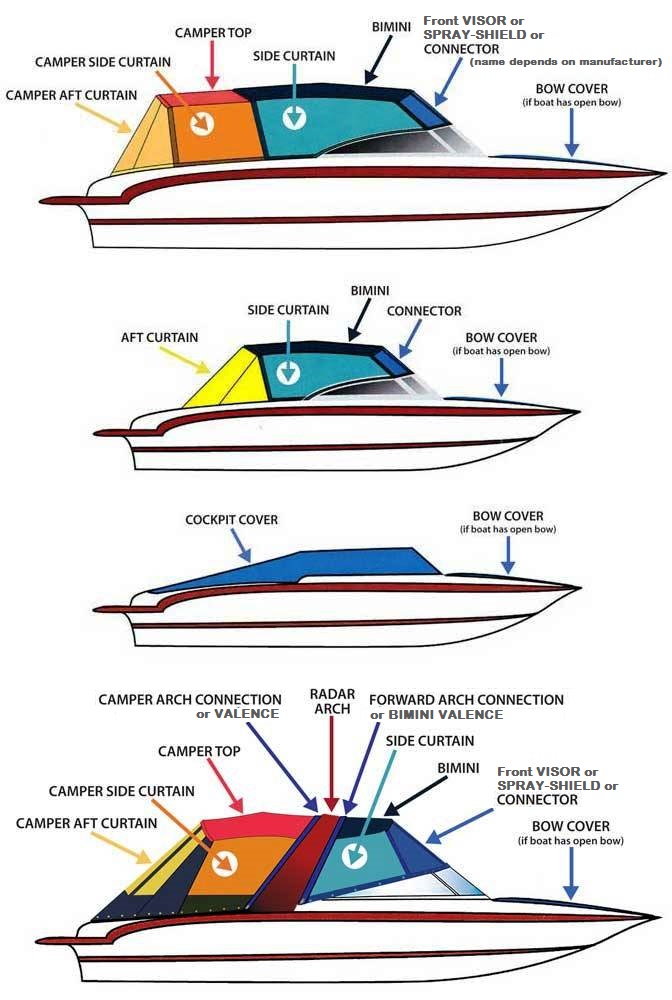
Boat Canvas Identification ...
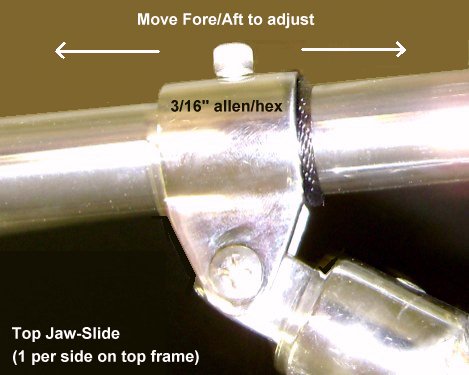
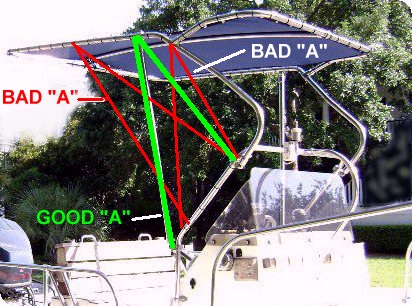
Bimini-Top Canvas ...
T-Top Canvas ...
T-Top Spray-Shield ...
T-Top Gull-Wings ...
more ...
- Canvas Installation Instuctions:
Lacing on T-Top Replacement Canvas ...
T-Top Spray-Shield Installation ...
Bimini/Hard-Top Spray-Shield Installation ...
Side-Curtain Installation ...
Aft-Curtain Installation ...
Installing Male Snap Stud Screws in Aluminum T-Top ...
Drilling holes in Fiberglass for Male Snap Stud Screws ...
- Care:
Canvas Care & Cleaning ...
Eisenglass and Strataglass® Cleaning & Care
- Verifying your Boat:
Hull Identification Numbers (HIN) AFTER Aug 01, 1984 ...
Hull Identification Numbers (HIN) BEFORE Aug 01, 1984 ...
Each of our boat manufacturers' canvas pages
have Photos of the Factory OEM T-Tops, Hard-Top, Bimini-Tops, Canvas, etc. at the
bottom of the page for verification
(Sea Hunt® Photos for example).
Please compare your boat against these photos to insure you have the
Original-Equipment (OEM) Top frame from the Factory
(some dealers, like Chatlee in NC and Ed's Marine Superstoe in VA,
for example,
install their own, after-market T-Tops).
Our Factory OEM canvas
does not fit after-market Tops!
Boston Whaler®, Sea Ray® and Grady White® do NOT allow
dealers to install their own, after-market tops on new boats,
so these are typically Factory OEM,
unless an owner installed their own top.
-
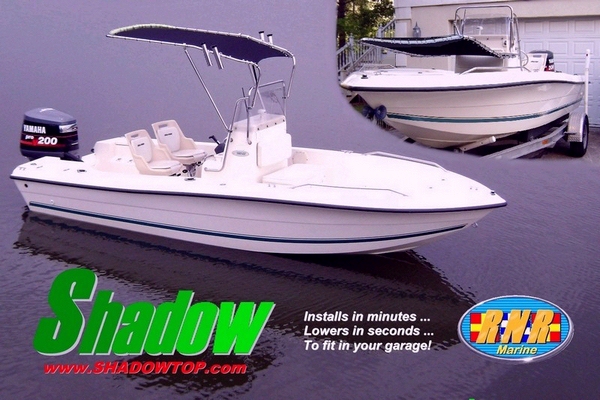
T-Topless™,
Montauk-T-Topless™,
Shadow™ &
Montauk-Shadow™
Folding T-Tops
and
Flats-Top™
"Shade for Flats Boats"™
:
- We sell, DIRECT TO THE PUBLIC, most years (1990s forward depending on boat line - except the two current model years)
Factory Original-Equipment-Manufacturer (OEM) Canvas and Covers
made of Sunbrella®, SeaMark®, Stamoid®, Aqualon®
clear Eisenglass Vinyl and Strataglass® (as specified by boat manufacturer)
created, installed at the factory and originally sold for
Astro®,
Baja®,
Bayliner®,
Bombardier®,
Boston Whaler®,
Centurion®,
Champion®,
Cobalt®,
Edgewater®,
Four Winns®,
Gecko®,
Grady White®,
Hurricane by Godfrey®,
Mako®,
Malibu®,
MasterCraft®,
Maxum®,
Monterey®,
Moomba®,
Nautic Star®,
PROCraft®,
Pro Sports®,
Regal®,
Scout®,
Sea-Doo®,
Sea Ray®,
Stratos®,
Sugar Sands®,
Supra®,
Tahoe®,
Tige®,
Triton®,
Triton Pontoons®,
Yamaha®,
Aquasport®,
Astro®,
Baja®,
Blue Point®,
BostonWhaler®,
Cape Horn®,
Carolina Skiff®,
Century®,
Champion®,
Chaparral®,
Chris Craft®,
Correct Craft®,
Crownline®,
Donzi®,
Duroboat®,
Ebbtide®,
Edgewater®,
Envision®,
Fincraft®,
Fineline®,
Fish Hawk®,
Formula®,
Four Winns®,
Freeman®,
Glastron®,
Godfrey®,
Gulfwinds®,
Hurricane® and
HydraSports®,
JC Pontoon®,
Jettus®,
Larson®,
Mako®,
Marada®,
Mastercraft®,
Metal Shark®,
Monterey®,
Polar®,
Polaris®,
Premier Marine®,
Pro Line®,
Procraft®,
Pursuit®,
Ranger®,
Regal®,
Rinker®,
Rizebo®,
Robalo®,
Sailfish®,
Scout®,
Sea-Pro®,
Sea Ray®,
Seaswirl®,
Seminole Marine®,
Skeeter®,
Skiers Choice®,
SmokerCraft®,
Southwinds®,
Starcraft®,
Stealth®,
Stratos®,
Suncountry®,
Sundance®,
Thunderbird®,
Tige®,
Tracker®,
Triton®,
Triumph®,
Trophy®,
Weeres Palm Beach®,
Wellcraft®,
World Cat®,
World Class®,
Xtreme Marine®,
Yamaha®,
Baha Cruisers®,
Caravelle®,
Cobia®,
Everglades®,
Glassmaster®,
Key West®,
Mariah®,
McKee Craft®,
Palmetto Custom®,
Pioneer®,
Sea Boss®,
Sea Fox®,
Sea Hunt®,
Sea-Pro®,
Tidewater® boats.
- We sell at a discount (and without 6-12% Sales Tax) versus the local dealers
since we "make-to-order" (Just-In-Time = JIT)
using our inventory of 1,000's of patterns
(no need to carry inventory)
and thus our overhead is lower.
- Unfortunately, agreements with boat manufacturers prevent us from selling the current (last 2 model years)
factory-original (OEM) production canvas, frames and covers direct to the public.
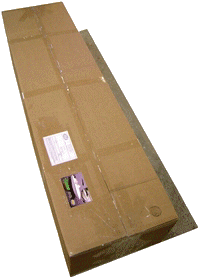
Some photos show optional items mounted on standard products.
Descriptive, typographical or photographical errors are subject to correction.

 3.147.27.210 ,
|


